
Reviewed · PEAK CLIMBING
Island Peak Climbing | Summit 6,189m with Expert Guides
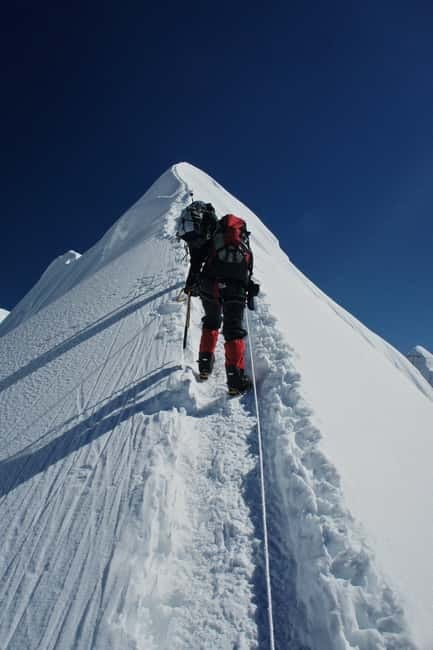
Island Peak is one of those Himalayan climbs that feels very achievable for motivated hikers, but still delivers a real mountaineering day at 6,189m. It also runs through the Everest region, so you get big-name peaks in your field of view the whole way up, not just on summit photos. I like how the plan mixes high-altitude trekking with hands-on climb training, so you are not guessing what comes next.
Two more reasons I’d sign up: you’re supported by a government-licensed English-speaking team with a climbing guide who brings 20+ summits, and you spend meaningful time in Sherpa villages, not just passing through. The main drawback to think about is logistics, especially getting to Lukla, since weather can mean flights operate from Ramechhap, and you will also need to budget for the Island Peak permit and your round-trip flights separately from the base price.
Key things I’d focus on before you go
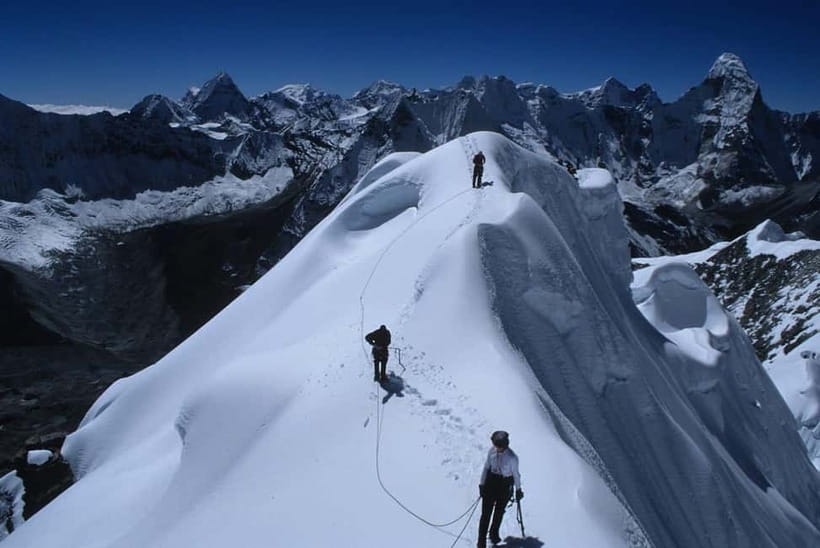
- 6,189m summit day with a planned return to base, timed as a long effort (8 to 10 hours)
- Glacier walking training at base camp (5,200m) so you’re not learning crampons on summit day
- Sherpa culture time in mountain villages, including a classic stop at Tengboche Monastery
- Everest, Lhotse, and Ama Dablam views built into the trek, not saved for one day
- Expert support with porter help, including a porter ratio of one porter for every two clients
- A contingency buffer day built in, because mountain weather does not care about your calendar
Island Peak at 6,189m: why this climb works as a goal
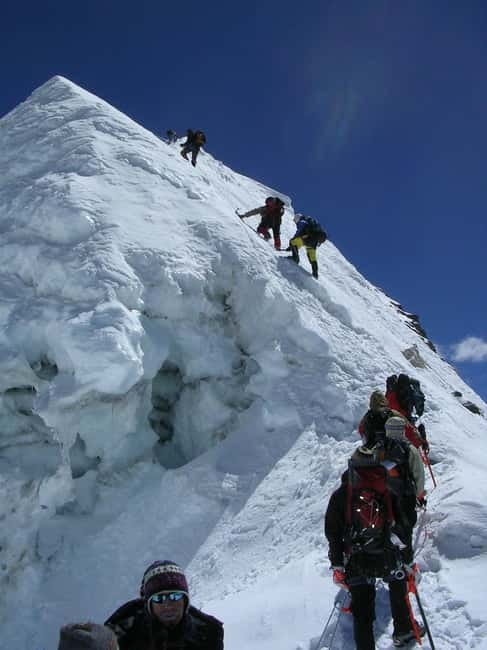
Island Peak sits in the Everest region, but it’s not “just a trek.” At 6,189m, you’re stepping into a world where snow, ice, and altitude management matter. That is exactly why the structure of this trip appeals to me: it gives you time to acclimatize, then adds climb-specific practice before you aim for the top.
What I like most is that this is not presented as a random adventure. You get group climbing equipment like ropes, ice screws, snow bars, and ice hammers, plus the basics for a mountain operation. The guide support is also specific: the ascent guide must have minimum 20+ summits, and you’ll travel with a government-licensed English-speaking guide. That means decisions get made by someone who’s done it before, which you feel most on tricky mountain timing, not in the easy valleys.
There’s also a value angle. The base price includes a lot of the “hard to DIY” items: meals during the trek, lodging in lodges plus tented accommodation, required park and administrative fees, and even a garbage deposit (more on that in a bit). You still pay extra for certain climbing and flight items, but the trip is designed to remove several common stress points.
More trekking peaks with guided ascents:
- Mera Peak Climbing
★ 5.0 · 33 reviews - Island Peak Adventure
★ 5.0 · 15 reviews - Everest Base Camp Trek with Island Peak Climbing
★ 5.0 · 14 reviews
Kathmandu arrival: you start gently, then go high
Day 1 is Kathmandu, and it’s not filler. You land at about 1,338m and get two nights in a deluxe Kathmandu suite home or similar, plus airport and hotel transfers by private vehicle. That matters because Kathmandu is where you handle the practical stuff: gear checks, buying cash-ready supplies, and getting your bearings before the mountain workflow begins.
You’ll also want to use Kathmandu time to think like a climber, not like a tourist. Make sure you’ve got your passport squared away for permits, and confirm your gear list. The trip asks you to bring passport, climbing gear, cash, and a flashlight. Some insulation and core items are provided, but you still need to be able to manage your own layers on cold nights and early mornings.
Day 2 starts the real altitude story. You fly to Lukla, then hike to Phakding, about 3 to 4 hours of walking, with the day’s ascent and descent roughly even (it’s listed as -300m). You’re only going as far as 2,800m, which is a good entry point. The Lukla flight itself is famous for a reason, and this trip gives you the classic 35-minute hop so your legs are not trying to “solve altitude” through a long day of trekking right away.
Lukla to Namche Bazaar: your first Everest-region reality check
Day 3 is the first big trekking day, from Phakding up to Namche Bazaar at 3,438m. Expect 5 to 6 hours walking, about 10 km, and a net gain of around +600m. The route crosses suspension bridges, and you start seeing Everest more clearly as the valley tightens and the angle improves.
I like this section because it teaches you pace. You’re not racing. Suspension bridges and uneven trail sections make you pay attention to footing, and the repeated climbs set you up for the real acclimatization work in Namche.
You’ll also pass viewpoints where Thamserku and Everest show up. Even if you never stare long enough to absorb every peak name, it still changes your brain. The mountain is suddenly specific, not just a background. That is when most people start taking altitude more seriously, and that seriousness becomes useful later.
Then Day 4 gives you the key acclimatization step. You stay in Namche at 3,438m, with 2 to 3 hours of optional hikes. You’re not just resting, you’re rehearsing how to hike at altitude without exhausting yourself. The plan even lists you’ll see Everest and Ama Dablam from the higher points during this day.
The one caution: Namche is busy compared to later villages, and it can tempt you into moving too fast. I’d keep your pace steady and treat optional hikes like training, not sightseeing binges.
Tengboche Monastery and the long climb up the valleys
Day 5 takes you to Tengboche at 3,870m, about 5 to 6 hours walking, 9 km, and a gain of +430m. This is one of those days where the trek feels like a ritual. You’re gaining altitude, but the stop at Tengboche Monastery is a real cultural anchor point, not a box to tick.
Monasteries in this region are often where you slow down. The views of Everest, Lhotse, and Ama Dablam become part of your breaks, not something you chase nonstop. That combination is practical. When you pause, you regulate breathing. When you regulate breathing, altitude feels more manageable.
Day 6 continues to Dingboche at 4,360m. Again, 5 to 6 hours walking, 10 km, and about +490m gain. The trek is described as picturesque valleys, and that’s true in a way that matters. Valleys mean fewer technical surprises, but the altitude still climbs steadily. You’ll keep seeing Lhotse and Ama Dablam, and the repeated “mountain wall” feeling helps you track progress day by day.
The drawback here is simple: the higher you go, the more every uphill step demands extra recovery time. If you tend to push hard early in the day, now’s the moment to adjust.
More to compare around Kathmandu
- Kathmandu: 7 UNESCO Sites with Lunch
★ 4.8 · 744 reviews - Everest Base Camp Helicopter Tour landing at Everest View Hotel
★ 5.0 · 668 reviews - Kathmandu: Local Women-Led Nepali Cooking & Momo Class
★ 4.9 · 360 reviews - Manaslu Circuit Trek
★ 5.0 · 292 reviews
Chukkung to Island Peak Base Camp: where training becomes real
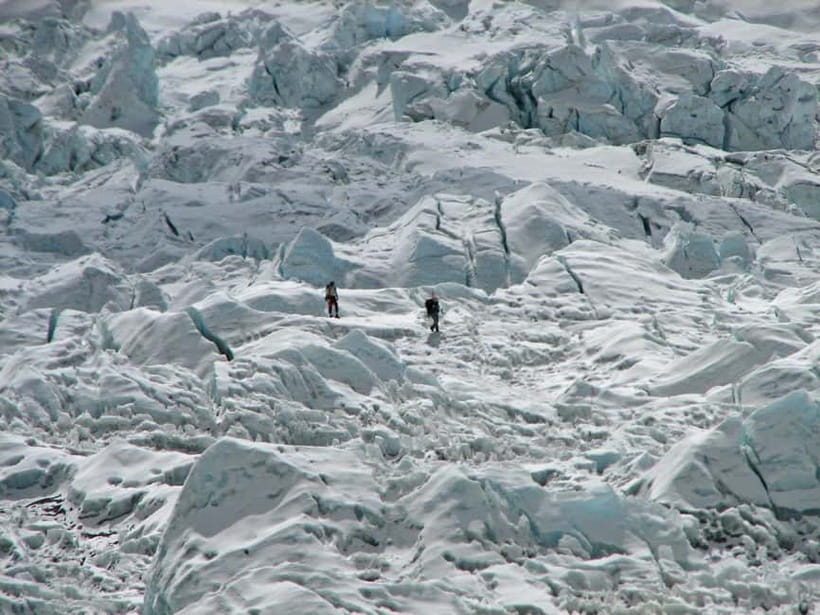
Day 7 is a shorter move, from Dingboche to Chukkung at 4,730m. Expect 3 to 4 hours of walking, about 6 km, and a gain of +370m. You’re moving onto alpine pastures here, and the walking is scenic but still physical. This day matters because it positions you for the next step: base camp life and training.
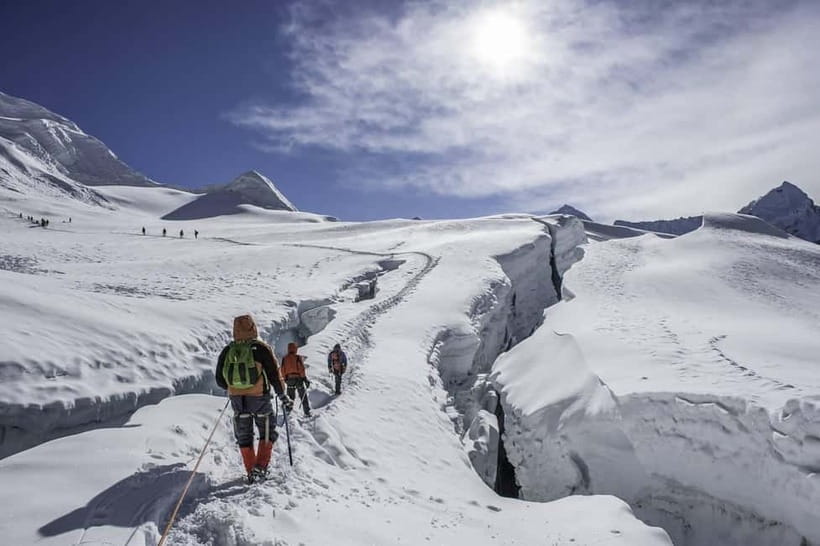
Day 8 takes you to Island Peak Base Camp at 5,200m, about 3 to 4 hours. You’ll also do pre-climb training at base camp. The trip specifically calls out glacier walking training, with about 5 km of training walking. This is the part that makes the climb safer for most people, because glacier walking requires specific footwork and confidence with the equipment.
You’ll see Island Peak and Lhotse on this day. Seeing the mountain you’re training for changes everything. It turns equipment practice into something purposeful. In my experience, that psychological shift helps you focus on technique instead of fear.
The main consideration: base camp altitude is no joke. Even with training scheduled, you’ll still need to manage your pace and conserve energy. Treat it like a workday, not like a victory lap.
Summit day up Island Peak: effort, timing, and how to handle it
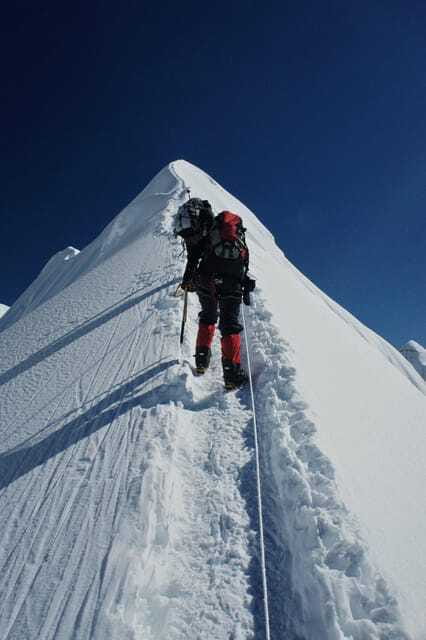
Day 9 is the big one: summit Island Peak at 6,189m and return to base camp. Expect 8 to 10 hours total, listed as about 10 km, with +989m gain and -989m descent. That’s a long day, even if the distance sounds manageable.
The trip is set up with the assumption that you’ll use your earlier days to arrive at this summit day with enough acclimatization and basic glacier movement comfort. Your gear list and the pre-climb training are meant to pay off right here. With group climbing equipment available and expert guidance, you are not making choices alone on steep snow or icy sections.
You’ll also see Everest, Makalu, and other major peaks. Those views are real, but the practical goal is to move with control and keep your energy steady through the long climb and descent.
Then comes a wise piece of planning: Day 10 is a contingency day. If weather or conditions disrupt the summit attempt, you get buffer time rather than a rushed rerun. In the mountains, “perfect timing” is often luck. Buffer time is how you turn luck into success.
The return trek: going down still takes smart pacing
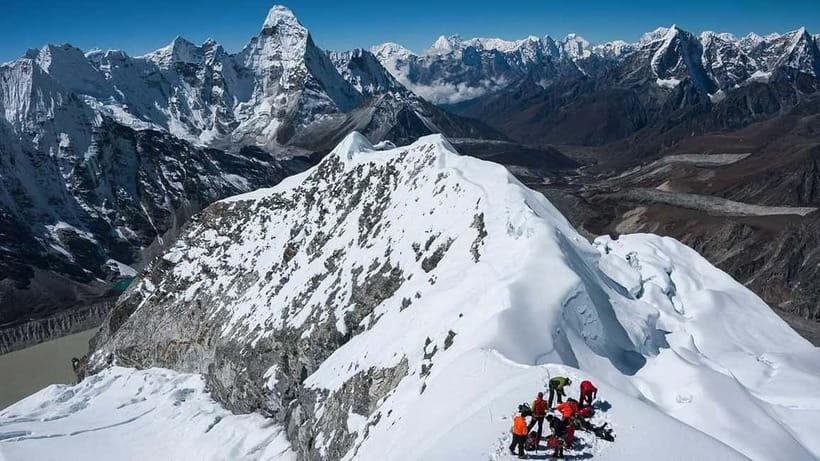
Day 11 shifts gears. You trek from Chhukung back to Namche Bazaar, about 5 to 6 hours and 18 km, with a big net descent of -1,292m. The views listed include Ama Dablam and Everest, and that’s a nice reminder that the mountain is still watching, even while you’re tired.
Down days can be deceptively tough. Your body thinks descent is easy, but it isn’t. Knee and ankle strain are common when you let your speed get out of control. This is where you keep steps shorter and let the terrain dictate pace.
Day 12 takes you from Namche down toward Lukla at 2,800m, about 6 to 7 hours and 19 km, net -638m. This is your final walking day of the main trek. Expect a “farewell” feel, especially since the trek has been about Everest-region access and altitude progressions from day to day.
Day 13 is the 35-minute flight back to Kathmandu. It’s listed as a scenic flight, and that’s usually how the mind reacts after days of trekking: you appreciate what you gained rather than only what you endured. You’ll be back at 1,338m, and Day 14 is departure.
What your $1,699 really buys, and what you must budget separately
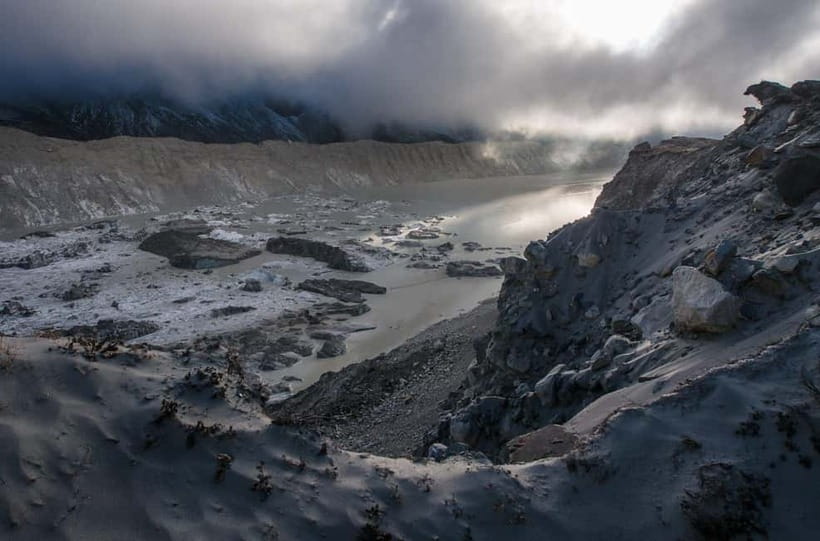
At $1,699 per person for 14 days, this trip is priced for a guided climb that covers a lot of the expedition overhead. Here’s what stands out as value.
Included costs you would otherwise have to arrange:
- Three meals a day during the trek (breakfast, lunch, dinner)
- Best available local lodges plus tented accommodation
- Group climbing equipment for the ascent, including ropes and anchors like ice screws, plus tents and kitchen setup
- A government-licensed English-speaking guide, plus porter support (one porter for every two clients, with their food, accommodation, salary, equipment, and insurance covered)
- Multiple required fees: Sagarmatha National Park entry permit, SPCC fee, Khumbu Pasang Lhamu Rural Municipality fee, and an NMA service charge, plus the garbage deposit of USD 500
- Acclimatization and pre-climb training at base camp
- A heli rescue assistant to contact your insurance, plus 24-hour company support
Not included items that you should plan for:
- Island Peak climbing permit, listed as USD 350 or USD 175, so confirm your exact permit amount before you pay anything
- Round-trip flights Kathmandu to Lukla, listed as USD 440 per person
- Travel insurance for the climbing guide (USD 100 is listed), plus your own climbing insurance
- Personal expenses like Wi-Fi, drinks, laundry, and hot water or hot shower costs
In plain terms, the package price is strong if you want to avoid a DIY coordination headache. But the real cost picture depends on flights and the permit. Before you commit, add up: base price + your flights + your permit + likely tips for guides and porters. Tips are customary but not included.
Guides, Sherpas, and the kind of support that matters when tired
One reason this trip earns consistent high marks is how the support system shows up in everyday moments, not just on the summit rumor level.
You travel with an ascent guide who meets the min 20+ summits requirement, and you have a government-licensed English-speaking guide running the route and decisions. That matters in places like Lukla logistics, where weather can change your plan fast.
I also like the way porter support is structured. With one porter for every two clients, and the porter’s food, accommodation, salary, equipment, and insurance covered, you are not trying to carry everything while your breathing is already working overtime.
A specific detail from past participants: a porter named Mijan is singled out for going beyond his duties. That kind of personal care is hard to manufacture, and it usually comes from a team that understands how clients actually struggle, not just how they should act on paper.
So if you’re the type who gets discouraged when you’re tired, the social support here can genuinely help. Safety is not only ropes and ice screws. It’s also communication, pacing, and people who watch you when you think you are fine.
What to pack, and what to plan for in mountain weather
The essentials the trip asks for:
- Passport
- Climbing gear
- Cash
- Flashlight
It also notes you should bring your personal trekking gear, while key items like a duffle bag, sleeping bag, and down jacket are provided. You still want your own layers and comfort items, because cold and fatigue have different “personal preferences.”
Weather is variable. You’re in the Everest region, and that means wind, cloud cover, and temperature swings can affect comfort and summit conditions. The itinerary even builds in a contingency day, which is your reminder not to treat summit timing as guaranteed.
One more practical point: Lukla flights can operate from Ramechhap Airport during peak season. This is not a minor detail. It can change travel time and your schedule rhythm. So keep your first couple of days flexible in your mindset, even if your itinerary looks fixed on a spreadsheet.
Drones are not allowed. If you’re bringing one, leave it at home.
Should you book this Island Peak climb?
If you want a serious Himalayan goal that still comes with structured training, I’d say yes. This climb is built around acclimatization time in Namche, a classic cultural stop at Tengboche Monastery, and then glacier training at base camp before summit day. The guide requirements and porter ratio also make the trip feel professionally run, especially for a first serious climb.
I’d think twice if any of these apply:
- You don’t have travel insurance that covers high-altitude trekking and climbing
- You tend to push hard early and ignore how your body adapts
- You want a “all-inclusive for one price only” deal, because the permit and round-trip flights are separate
- You are in a group that this climb is not suitable for, since it lists children under 14, pregnant women, wheelchair users, and people over 95 as not suitable
If you book, do the boring parts well: confirm your permit and flight amounts, double-check your climbing gear, and keep your summit day energy for when it counts.
FAQ
How long is the Island Peak climbing trip?
It runs for 14 days, with a multi-day trek through the Everest region and a summit day plus a contingency day.
What is the highest altitude on this trip?
The summit target is Island Peak at 6,189m. Island Peak Base Camp is at 5,200m, and you also sleep at higher altitudes such as Chukkung at 4,730m.
Is the climb guide included?
Yes. The trip includes a climbing guide for the Island Peak ascent with minimum experience of 20+ summits, plus a government-licensed English-speaking guide.
Are flights to Lukla included?
No. Round-trip flights from Kathmandu to Lukla are not included, listed at USD 440 per person. The itinerary notes flights may operate from Ramechhap Airport depending on conditions.
What training do I get before the summit attempt?
You get pre-climb training at Island Peak Base Camp, including glacier walking training.
What climbing gear and equipment are provided?
The trip includes group climbing equipment such as ropes, ice screws, snow bars, ice hammers, and tents, along with kitchen equipment.
What permits and park fees are covered?
The included list covers Sagarmatha National Park entry permit, NMA service charge or royaltee fee, SPCC fee, and Khumbu Pasang Lhamu Rural Municipality fee. The Island Peak climbing permit is listed as not included.
Is the Island Peak permit included in the price?
No. The Island Peak climbing permit is not included, with an amount listed as USD 350 or USD 175, so you should confirm the correct figure for your booking category.
Are meals included during the trek?
Yes. Three meals per day (breakfast, lunch, and dinner) are included during the trek.
Is travel insurance required?
Yes. The trip information emphasizes that you should have valid travel insurance covering high-altitude trekking and climbing. It also lists a heli rescue assistant to help contact your insurance.
What should I bring, and what is not allowed?
Bring your passport, climbing gear, cash, and a flashlight. Drones are not allowed.
Latest Kathmandu write-ups
- 16 Days Island Peak Climbing With Everest Base Camp Private Trip★ 5.0 · 3 reviews
- 15 Days Round Annapurna Trek with Poon Hill from Pokhara★ 5.0 · 5 reviews
- Private Nepal round trip including Ghorepani Poonhill trek★ 5.0 · 3 reviews
- Everest Base Camp Trekking 16 Days★ 4.0 · 7 reviews
- 14 Days Luxury Annapurna Base Camp Trek★ 5.0 · 6 reviews
- Everest Base Camp Trek★ 5.0 · 32 reviews
- Everest Base Camp Trek★ 5.0 · 87 reviews
- Everest Base Camp Trek★ 5.0 · 97 reviews
Peak Climbing, compared.
Everest Base Camp Trek with Island Peak Climbing
Read our review →
16 Days Island Peak Climbing With Everest Base Camp Private Trip
Read our review →Browse the lists this tour appears in