
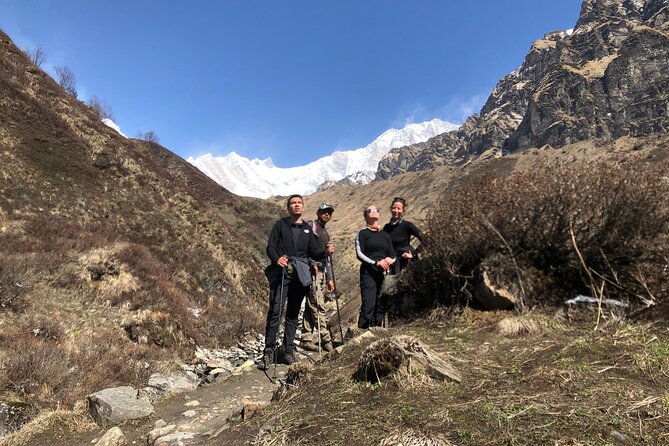
Reviewed · ANNAPURNA CIRCUIT TREK
Annapurna Circuit Trek
Annapurna Circuit is interesting because you go from warm, low valleys up into thin-air high passes, all on a trail that feels both classic and surprisingly personal. I like the way this trip handles the hard parts of planning for you, so you can focus on the walk, and I especially like the private, guided support that helped hikers like Rabin and Santosh get through tricky logistics step by step. The one drawback to take seriously is altitude and cold, with real reports of night temperatures dropping to around -20 C and strong wind.
What makes it work well is that it is built like a real trek, not just a checklist. You’ll hike day after day, then get recovery time with an acclimatization day at Manang, plus tea house stops and three standard meals included. The consideration here is that you are hiking at elevations that can make even simple tasks feel harder, so you’ll want to treat the early days as warmups, not races.
Key highlights at a glance
- Thorong La Pass day: a high-stakes crossing route, including the segment via Thorong La (5,416m)
- Manang acclimatization: a built-in day to help you adjust before higher trekking
- Tea house comfort: included lodging on the trail, so you travel lighter in planning terms
- Muktinath and the pilgrimage feel: a memorable low point after the pass, at about 3,802m
- Tatopani hot springs stop: a practical reset day after trekking down to lower altitude
- Poon Hill morning and Pokhara finish: sunrise-style hiking, then an efficient taxi back to Pokhara
Annapurna Circuit, the “classic” version with real support
If you’re hunting for an Annapurna Circuit experience that feels like it was designed by people who actually want you to finish happy, this format makes sense. You’re in Nepal’s Annapurna region for about 14 days, and the route is set up to give you long enough on the trail to see the big altitude shift: starting around 1,100m with a drive from Kathmandu, then climbing into the high country where the air feels different.
The biggest value here is the reduction of stress. Your guide and the included logistics handle a lot of the gray-area details that often trip up first-timers: what time to leave, which order to do stops, how to pace your day, and how to handle day-to-day decisions safely. In the reviews, guides such as Santosh, Sandip, Ganesh, Chakra (often written as CK), and Rabin stand out because they were described as present, attentive, and good at keeping trekkers confident when things get cold or uncertain.
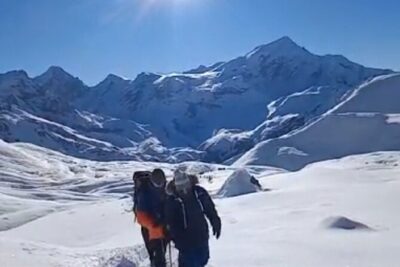
And yes, the Annapurna Circuit is still hard. Even with support, you’ll be hiking 4 to 8 hours most days, including a long day tied to the Thorong La route. The trail is famous for a reason, but it is not a stroll.
More of the Annapurna Circuit:
- Annapurna Circuit Trek with Tilicho Lake
★ 5.0 · 368 reviews - Annapurna Circuit Trek
★ 5.0 · 67 reviews - Annapurna Circuit Trek
★ 5.0 · 49 reviews
Price and what you really get for about $1,175
At $1,175, this tour is not “cheap backpacker style,” but it’s also not just paying for a name. You get a bundle of practical items that add up fast if you try to DIY the same trek.
What is included (and why it matters):
- Tea house accommodation for the trekking days. That’s your sleeping setup without you having to negotiate where you’ll stay each night.
- Three standard meals during the trek: breakfast, lunch, and dinner. This matters because on the Circuit, food stops are not just optional breaks, they are part of staying fueled.
- Permits and paperwork: Annapurna Conservation Park permits plus the TIMS fee (Trekkers’ Information Management System). It’s one less thing to worry about mid-journey.
- Transportation: a bus from Kathmandu to Jagat, a bus from Jomsom to Tatopani, and private transfer from Nayapul to Pokhara, plus the drive from Pokhara back to Kathmandu.
- A trekking map, a first aid medical kit, and government tax.
- A licensed, experienced guide, and the tour is private for your group.
What is not included (and what you should budget anyway):
- Travel and rescue insurance. This is big. If you only read one line in the fine print, make it this one.
- Personal expenses like phone calls, laundry, bar bills, charging batteries, shower costs, and extras like extra porters if you need them.
- Tips for guides and porters.
My take on value: if you want the Annapurna Circuit with less planning friction, fewer uncertainties, and a guide who can help you make good calls on pacing and safety, this price looks reasonable for what’s covered. If you already know Nepal trekking systems and prefer strict DIY freedom, you may find a cheaper route. But for many people, paying for peace of mind is the smartest bargain.
Day 1: Kathmandu to Jagat, start slow like a pro
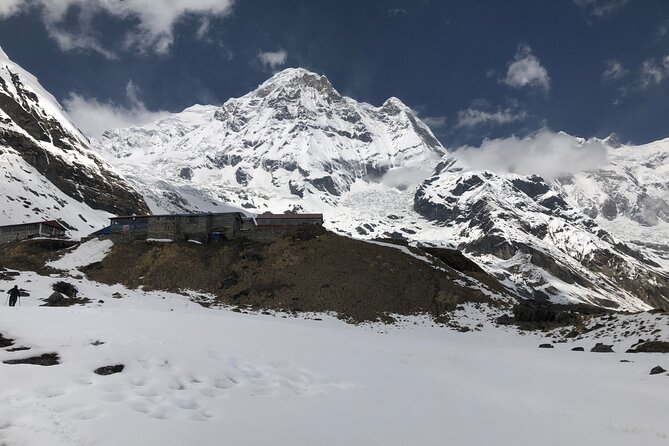
Your first day is a long drive, about 8 to 9 hours from Kathmandu to Jagat (around 1,100m), via Besisahar. Even though this is “just transport,” it’s a useful start. It positions you in the trek zone without wasting hiking energy on a day where you’re still adjusting to Nepal time, roads, and elevation.
Jagat (the first trekking base on your route) is also a good place to begin because it transitions you from road travel to the rhythm of trail walking. You’ll likely feel tired after the ride, so it’s smart to plan an easy evening and get ready for your first real climb.
Practical tip: if you’re prone to motion sickness, pack something. The road days can be bumpy, and you’ll want your sleep to be decent for Day 2.
Days 2 to 5: Dharapani, Chame, Pisang, Manang, and the altitude wake-up call
More to compare around Kathmandu
- Everest Base Camp Trek – 14 Days
★ 5.0 · 1,499 reviews - Everest Base Camp Trek
★ 5.0 · 842 reviews - Private Kathmandu Sightseeing Tour | UNESCO World Heritage sites
★ 5.0 · 756 reviews - Kathmandu: 7 UNESCO Sites with Lunch
★ 4.8 · 744 reviews
Day 2: Jagat to Dharapani (6 to 7 hours)
You go to Dharapani at about 1,960m. This day is where you learn the first lesson of the Circuit: pace beats power. At this elevation, you can still feel like you’re “hiking,” not suffering, but your body starts to understand the gradual climb.
Day 3: Dharapani to Chame (5 to 6 hours)
Now you’re reaching about 2,710m. The walking tends to feel more serious. Expect changes in temperature, and expect to notice that you’re thinking about breathing more.
Chame is also a hub-type village stop, so it’s a good place to settle into tea house routines.
Day 4: Chame to Pisang (about 5 to 6 hours)
You head up to around 3,300m. This is where scenery can feel dramatically different day to day as the route climbs. You’ll start to feel the altitude creep more than the day before.
Day 5: Pisang to Manang (about 6 to 7 hours)
Manang is about 3,540m. After this, the “real” altitude strategy starts to show: you’re in a higher zone where your body may need time to catch up.
Day 6: Acclimatization day at Manang
This is a huge plus. You are not just going higher and hoping for the best. You get a day that supports adjustment before the higher pass day.
In reviews, guides were repeatedly praised for being good at making the trek feel manageable. A part of that is pacing and altitude sense, and Manang is where that pays off. If you take this acclimatization day seriously, your chances of feeling better on the higher days improve.
Days 7 to 9: Yak Kharka, Thorong Phedi, then the Thorong La to Muktinath push
Day 7: Manang to Yak Kharka (about 4 to 5 hours)
Yak Kharka sits around 4,120m. This is a big jump from Manang, and it tends to make your legs feel heavier even if the hiking time isn’t the longest day.
Day 8: Yak Kharka to Thorong Phedi (about 4 to 5 hours)
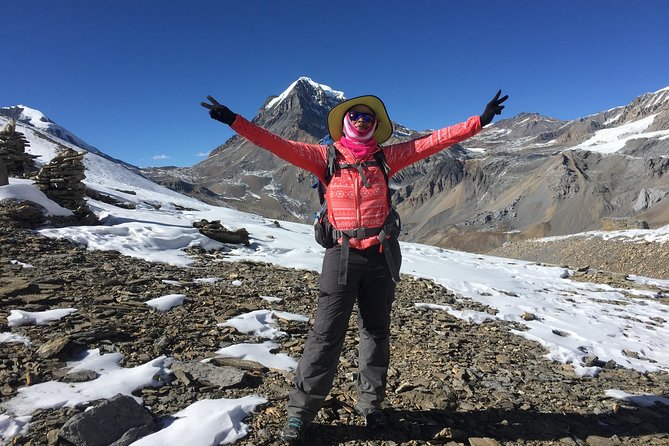
You climb to roughly 4,450m. Thorong Phedi is where people start to feel the stakes. The air gets thinner, and nights can get cold fast.
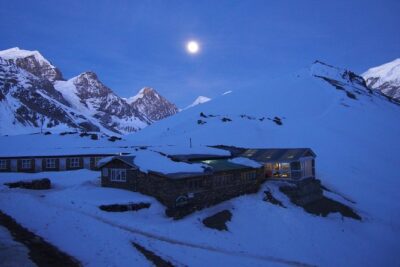
And here’s where the cold reality from the reviews really matters. One trek described night temperatures dropping to about -20 C with wind around 20 km/h, even freezing water in a normal bottle. That doesn’t mean it happens every single night, but it does mean you should plan like it can get brutally cold, especially around the higher elevations.
What to do with that info: pack warm layers that you can actually live in, not just “stand in.” Gloves, a hat, and something windproof for your upper body can be the difference between a tolerable night and a miserable one.
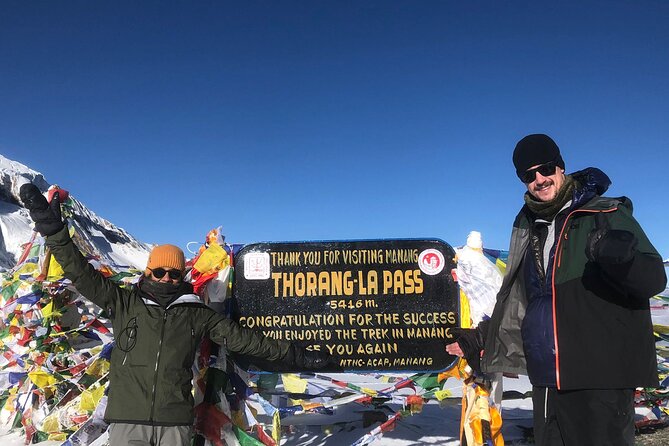
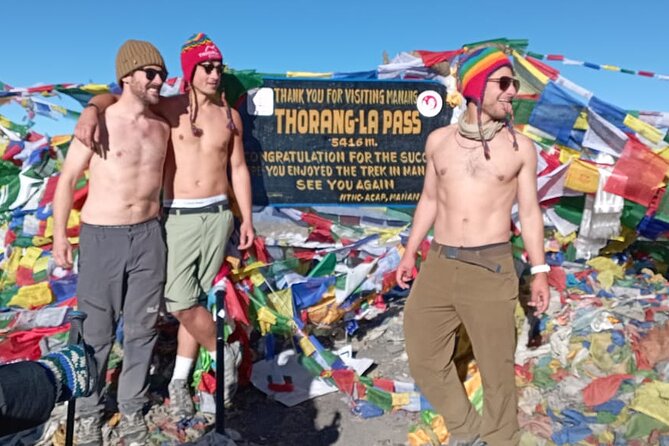
Day 9: Thorong Phedi to Muktinath (about 7 to 8 hours via Thorong La 5,416m)
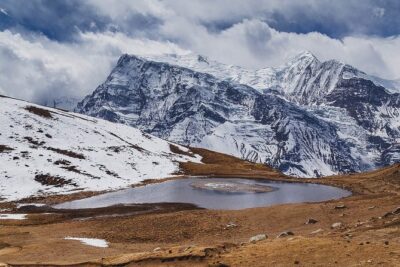
This is the signature day. You’ll pass through Thorong La (5,416m) and then descend to Muktinath (about 3,802m). It’s a long day in time, and it can feel even longer in effort.
What I like about the way the route is structured is that it doesn’t just dump you at high altitude and leave you there. The design gives you a clear “before” (the Phedi and Yak Kharka days) and a clear “after” (a descent to a slightly lower altitude).
Muktinath is also a rewarding stop because it changes the mood after the pass. It feels more like a destination, not only a waypoint.
Day 10: Muktinath to Jomsom, then the ride to Tatopani
Day 10: Muktinath to Jomsom (about 5 to 6 hours)
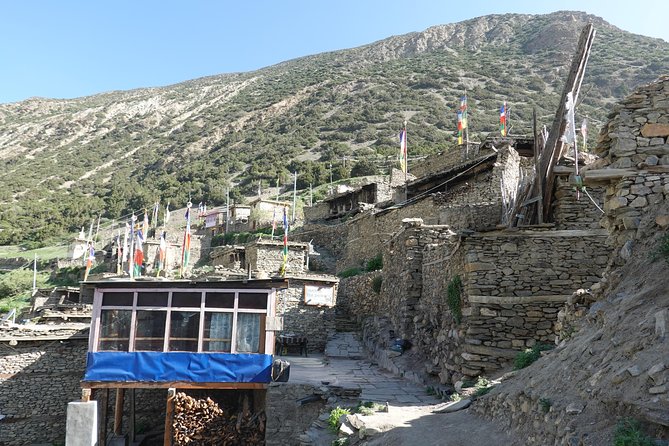
You drop to about 2,743m. That descent can feel like a relief, but remember that “lower” still means you are working your body, especially after a high pass day.
Jomsom is a place where the trek transitions toward transport. That matters because it gives you a breather before the next trekking day.
Day 11: Drive from Jomsom to Tatopani (about 4 to 5 hours)
Tatopani is famous for a natural hot spring stop, and the route makes this a dedicated day. Your elevation at Tatopani is around 1,290m. That’s a meaningful change from Muktinath, and it sets you up for comfortable trekking the next day.
Hot springs are not magic, but they’re a smart recovery tool after a pass day. If your feet are sore, this is where you get to treat them kindly without trying to “tough it out.”
Days 12 to 13: Ghorepani, Poon Hill sunrise hike, then taxi to Pokhara
Day 12: Tatopani to Ghorepani (about 7 to 8 hours)
Ghorepani is around 2,750m. This is a longer hiking day, and the route benefits from the recovery you got at Tatopani. You’ll likely feel the difference between Day 12 and the earlier high-altitude days because you’re not directly climbing to the pass elevations anymore, but it’s still a full day of walking.
Ghorepani is also where the “classic view hike” style starts to appear again in your schedule.
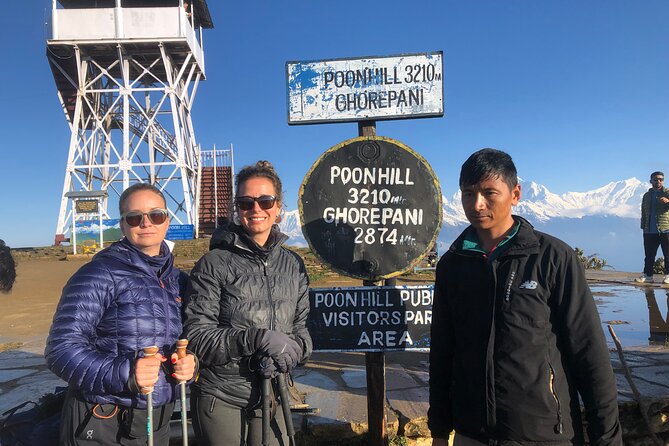
Day 13: Early morning hike up to Poon Hill, then trek down to Nayapul, taxi to Pokhara (about 7 to 8 hours)
You hike up to Poon Hill (3,210m) early, then trek down to Nayapul (2,070m), followed by a taxi to Pokhara. This day is all about timing and energy management.
Why this matters: an early start can be cold, especially after the high altitude experience you already had. But the reward is that you get an iconic early-morning viewing moment before you switch modes to city comfort.
Pokhara is then your reset. You get meals, rest, and a place to sleep that is not tea house simple.
Day 14: Pokhara to Kathmandu, finish with a clean landing
On Day 14 you drive from Pokhara (about 822m) back to Kathmandu (around 1,400m). This is a steady wrap-up day, and it helps you avoid the “one final hike, then you collapse” feeling.
If you’ve been dealing with cold nights, you’ll also appreciate the comfort of being out of the high-elevation routine. Your body will still be tired, but it won’t be the same kind of tired as after the pass.
What the guides do that you actually notice on the trail
This trek is built around the idea of a helpful guide. In practice, that shows up in small decisions.
From the review examples, guides like Rabin and Santosh were praised for being there every step of the way, friendly and approachable, and good at helping you make decisions without stress. Ganesh was mentioned for patience and encouragement, and Chakra (CK) was noted for being helpful with traditions, mountains, and even language context.
That kind of guidance matters most when conditions change. On a route that goes high enough for cold snaps, the day can shift quickly based on weather and how your body responds. You do not need your guide to be a superhero. You need them to be calm, present, and experienced with the rhythm of the trek.
You also get a licensed guide plus basic support tools: a first aid kit and a trekking map are included. That’s not glam, but it makes the experience feel safer and smoother.
Safety and cold reality: plan for the worst night, not the average
The itinerary includes acclimatization at Manang and a staged climb to Thorong Phedi, which is exactly what you want. But altitude and weather can still surprise you.
One strong review described a night drop near -20 C with wind around 20 km/h and frozen water in a bottle. Even if your trip is milder, that report tells you something important: the high section can be brutally cold.
So do this before you go:
- Bring warm layers you can wear even when you’re already tired.
- Protect hands and head from wind.
- Plan to keep water from freezing when temperatures get extreme.
- Keep your pace steady and your breathing controlled on high days.
If you’re doing Annapurna Circuit for the views, remember that the pass day is also a weather day. Your best view prep is good warmth prep.
Who should book this Annapurna Circuit trek, and who might not love it
This guided trek suits you if:
- You want the classic Annapurna Circuit route with less planning work.
- You value tea house lodging and included meals so you can focus on hiking.
- You prefer a private group experience rather than sharing logistics with strangers.
- You have moderate fitness and are okay with long hiking days, especially around the pass.
You might think twice if:
- You hate cold mornings and possible extreme cold at high altitude.
- You’re looking for a low-effort hike, this is not that.
- You want zero structure, because the route and included meals and lodging are part of the experience.
Should you book this Annapurna Circuit trek?
I’d recommend booking if you want a guided, structured Annapurna Circuit that reduces the planning headache and gives you strong support right where it counts, during high-altitude days and in cold weather reality. The included permits, TIMS, tea house nights, and meals are the kind of value that adds up fast, and the route includes smart recovery time at Manang and a hot springs day at Tatopani.
If you’re excited by the idea of crossing Thorong La and finishing with Poon Hill and Pokhara, this is a good way to do it without improvising the whole trip. Just go in prepared for the altitude and cold, and you’ll get the reward this route is famous for.
If you want, tell me your hiking experience and fitness level, and whether you get cold easily. I can help you gauge how serious you should take the winter layers for this exact itinerary.
Latest Kathmandu write-ups
- 10 days Annapurna Base Camp Trek★ 5.0 · 5 reviews
- Visit Swayambhunath and Bauddhanath Stupa with Guide★ 5.0 · 5 reviews
- Langtang Trek from Kathmandu 7 Days★ 5.0 · 5 reviews
- 7 Day Kathmandu Pokhara Tour★ 4.5 · 5 reviews
- Island Peak Climbing with Everest Base Camp★ 5.0 · 5 reviews
- Chandragiri Hill Cable Car Tour with Hotel Transfers from Kathmandu★ 4.5 · 5 reviews
- Everest Mountain Flight★ 5.0 · 5 reviews
- Kathmandu city day tour (4 world heritage sites)★ 5.0 · 5 reviews
Annapurna Circuit Trek, compared.
15-Day Private Annapurna Circuit Trek from Kathmandu
Read our review →
8 Days Private Guided Trekking in Annapurna Circuit with Pickup
Read our review →Browse the lists this tour appears in