
Reviewed · EVEREST BASE CAMP TREK
12 Days Everest Base Camp Trek
Everest Base Camp is the kind of trip that makes you plan your effort like a smart climber, not like a movie hero. This 12-day route takes you up from Lukla into the Khumbu, with high-altitude acclimatization built in, then finishes with the big reward at Kalapatthar and Everest Base Camp.
I really like that the trekking days are matched with actual rest and altitude strategy, including an extra acclimatization day in Dingboche. I also like the human factor, because the guides are Government Licensed and High-Altitude Trained, and people specifically highlight guides like Rajesh Magar and Gopal for getting them to the finish safely and with good energy. One thing to consider is the terrain and timing, especially the early sunrise hikes and rocky stretches at altitude.
Highlights You Will Feel Fast
- Lukla flights that put you on the trail quickly, with about a 45-minute hop to begin
- Real acclimatization structure, including a Dingboche rest day and a shorter hike to Nagarjuna
- Two headline viewpoints, Everest Base Camp and Kala Patthar for sunrise over Everest
- Guides with high-altitude training and altitude tools like an oximeter included
- Trek support that reduces friction, including a porter for 1 for 2 trekkers and group walkie-talkies
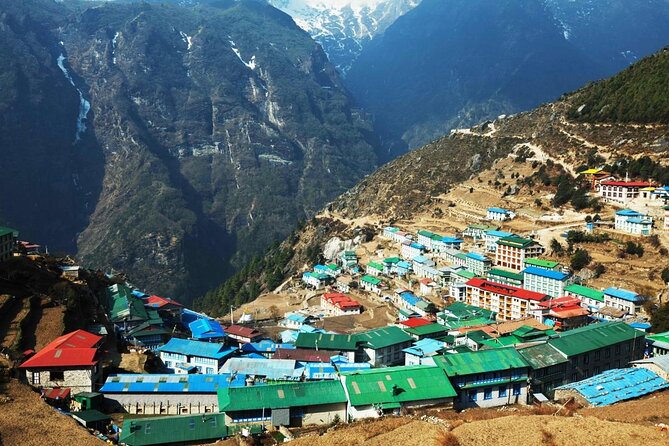
- Classic Khumbu river and bird details, including the Dudhkoshi (Milk River) and the Danphe national bird
Kathmandu to Lukla: Starting With the Right Kind of Nerves
This trek starts in Kathmandu, meeting at Tribhuvan Airport and then using included transport for pickup and drop-off by private or shared vehicle. You also get domestic flights between Kathmandu and Lukla. That matters because EBC is not a “drive up and hike later” kind of trip. The flight gets you to the real work fast, and it helps keep the overall schedule reasonable.
The Lukla part comes with an obvious consideration: weather. The itinerary assumes your flight happens as planned, and you should build your mindset around the fact that mountain aviation is sensitive. When your flight time is locked, you’ll feel both excitement and nerves the same day, because Lukla is where the trekking story really begins.
Once you land, you immediately start with a gentle reality check. Day 1 includes a descent from Lukla to Phakding, and you’ll spend your first hours following the curves of the Dudhkoshi River. It’s a great way to get your bearings because the route has movement, scenery, and steady pacing, not just a steep wall from the first minute.
More ways to walk to Everest Base Camp:
- Everest Base Camp Trek – 14 Days
★ 5.0 · 1,499 reviews - Everest Base Camp Trek
★ 5.0 · 842 reviews - Everest Base Camp Helicopter Tour landing at Everest View Hotel
★ 5.0 · 668 reviews
Day 1 and Day 2: Lukla to Phakding, Then Namche Bazaar the Smart Way
Day 1 is about getting into rhythm. The trek drops down toward Phakding, with the river nearby most of the time. This is the kind of first day that lets you settle into how your body handles time on your feet. You’re not chasing a summit. You’re learning your pace and how your breathing changes when you’re working but not sprinting.
Day 2 is longer, and the highlight is Namche Bazaar. The itinerary has you leaving early from Phakding, sometimes on one side and sometimes the other of the Dudhkoshi, then passing through suspension bridges and segments that feel more “trail system” than “road.” You’re also stacking altitude, and that means you need patience. Take your time at stops, keep sips of water frequent, and treat the climb like it’s training, not punishment.
The reward is Namche. It’s also where the trek becomes more “high Himalaya” in atmosphere. You’ll feel the altitude and the scale more clearly than on the lower days.
Day 3 Acclimatization at Everest View Hotel: Why a Rest Day Can Still Be a Big Day
Day 3 is designed to keep you safe and moving. The plan is to spend time acclimatizing, then hike to Everest View Hotel via the Syangboche airstrip. The point is simple: you raise your altitude while still giving your body a chance to adjust.
You don’t need to treat this as an optional stroll. In high places, acclimatization is work. Even if you feel fine, follow the schedule. That’s how you prevent altitude problems later when the trek gets harder.
This day is also where the Everest hype becomes real in a visible way. Even without reaching the base camp area, you’re getting views and that strange feeling of being very small under huge mountains. If you’re a beginner, this is a strong confidence builder. If you’re a senior, it’s also a reassurance day because you get forward motion without the harsh push of a summit-style ascent.
Days 4 and 5: Tyangboche to Dingboche, Rhododendrons and Monastery Mornings
Day 4 heads toward Tyangboche after a day and a half of recovery in Namche. The itinerary mentions a steep start followed by a more moderate stretch. That pattern is common in the Khumbu: the trail tests you at the beginning, then gives you some breathing space. Still, don’t assume “moderate” means easy. At altitude, moderate is still serious.
Tyangboche is tied to one of the most memorable rhythm changes on this trek: mornings. Day 5 is built around the sunrise from Tengboche monastery, with the plan to wake early and then hike after breakfast. That means you’re trading sleep for views, but it’s the kind of trade that usually feels worth it because you’re doing it before the day gets loud and busy.
Day 5 also includes descending into a rhododendron forest toward Deboche, which is described as reaching about 3,320 m. That forest stretch helps break up the “rock and thin air” feeling and gives you something more comfortable visually and emotionally.
More to compare around Kathmandu
- Private Kathmandu Sightseeing Tour | UNESCO World Heritage sites
★ 5.0 · 756 reviews - Kathmandu: 7 UNESCO Sites with Lunch
★ 4.8 · 744 reviews - Half day cooking class in Thamel kathmandu
★ 5.0 · 607 reviews - Everest Base Camp Trekking
★ 5.0 · 485 reviews
Day 6: The Nagarjuna Acclimatization Play in Dingboche
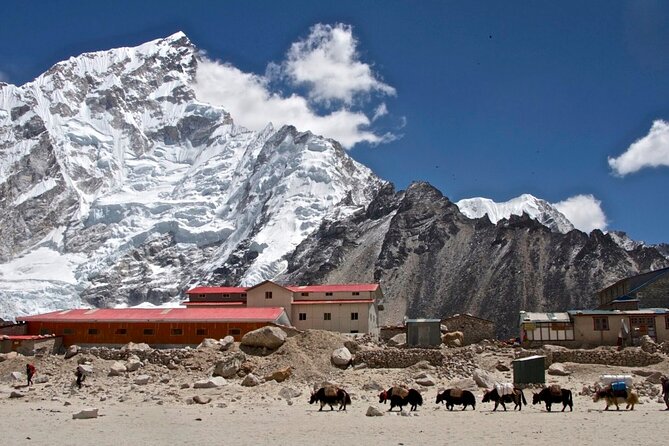
Day 6 is an acclimatization day around Dingboche, after you’ve already descended to over 4,400 m and gained altitude earlier. The itinerary keeps it practical: a leisurely start, then a hike to a nearby hill called Nagarjuna to acclimatize and take in the surroundings.
I like this approach because it respects how altitude works. You cannot only “push through.” You have to help your body adapt. If you treat this day as a day to try to prove something, you can pay later. If you treat it as altitude training with a view payoff, you set yourself up for a smoother run toward Lobuche and Gorakshep.
This is also where the guide quality becomes more than a line item. People specifically mention leaders like Gopal for sharing tips on acclimatization days, not just reading a route map. That kind of guidance can help you keep your energy for the hardest part of the itinerary.
Day 7 to Day 8: Lobuche and the Rocky Turn Toward Base Camp
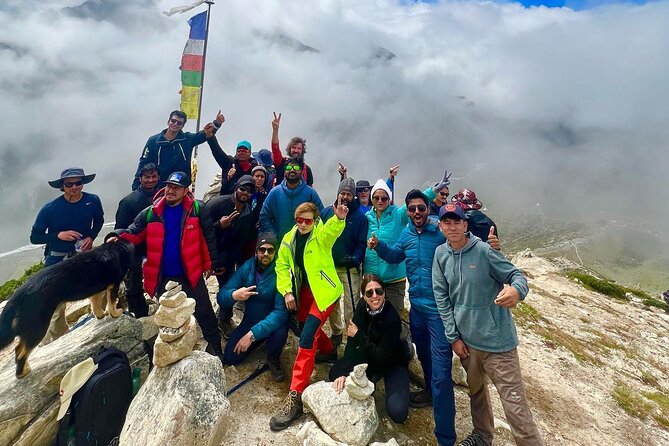
Day 7 moves you toward Lobuche. The hike is described as pushing further, and you’re heading up the main path in a wide valley beneath Cholatse and Tawache peaks. The terrain is not described as easy, but it does sound structured and scenic. This day is where your legs start to feel the “big week” coming.
Day 8 is the real turning point. The plan is Lobuche to Gorakshep, then onward to Everest Base Camp. The itinerary notes a rocky ascent along the Khumbu glacier passing the International Pyramid Labo area, then continuing for about two more hours along a rocky downhill, then uphill trail to reach base camp.
This is the moment most people are chasing. Not because it’s the highest point, but because it’s the place where the Everest story becomes physical. You’re surrounded by big glaciated terrain and dramatic mountains. It’s also a day when you want your mind calm enough to take it in, because you’ll likely be tired.
Also, plan for cold. The itinerary has you staying focused on altitude and terrain, and the base camp approach usually means the air and wind do their best work on you.
Day 9: Kala Patthar Sunrise, the Steep and Rocky Reality Check
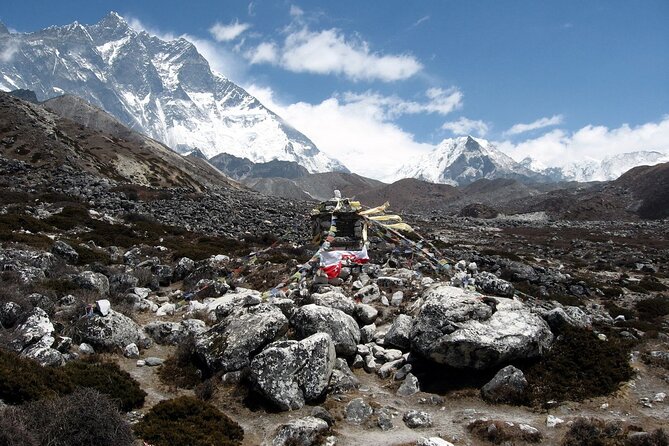
Day 9 is an early start: wake up super early and hike to Kala Patthar for sunrise over Mount Everest. The itinerary calls out that the hike is steep and rocky, so this isn’t a gentle viewpoint stroll. It’s the kind of hike that tests your legs and your head early in the day, before you’re fully warm.
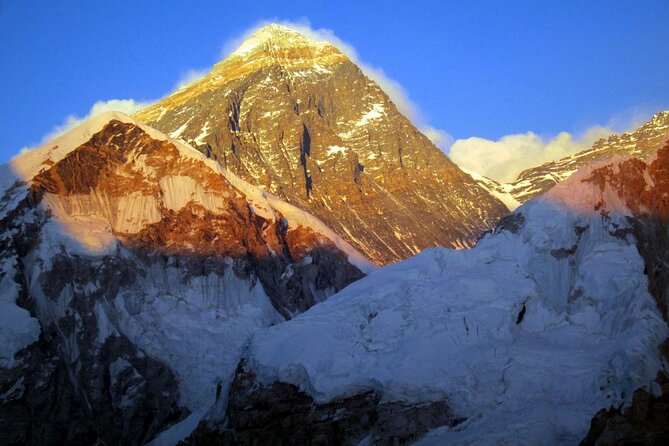
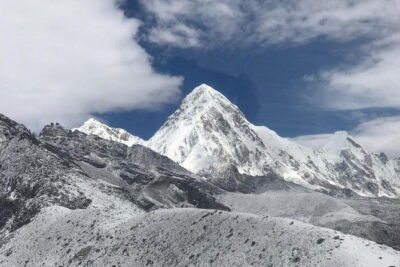
Why it’s worth it is obvious once you’re up there. Kala Patthar is one of the best places on the trek to watch Everest appear in layers as the light changes. It’s also a useful counterbalance to the base camp day. Base camp gives you the “destination.” Kala Patthar gives you the “wow, I’m really here” feeling.
If you’re a beginner or senior, the best strategy is to take smaller steps and stay relaxed. Don’t copy faster hikers. This is one time where pace control pays off immediately.
Day 10 to Day 12: Returning Down to Namche, Then Lukla, Then Free Time in Kathmandu
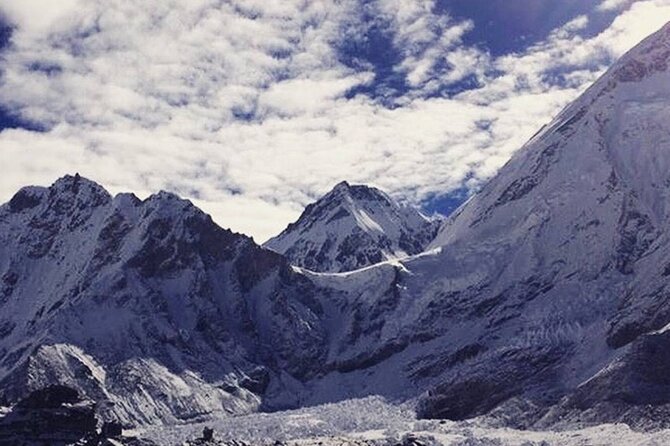
Day 10 brings a long walk back toward Namche Bazaar, but the itinerary notes it’s comparatively easier because elevation drops as you go. Still, long distance days can be deceptively tiring at altitude, especially if you’re carrying the mental load of the big sunrise hike from the day before.
Day 11 finishes the trekking loop with descent toward Lukla. The plan includes steep trails through lush forests, remote villages, and multiple bridge and stream crossings, then a return via Phakding. The key here is to keep moving steadily, even if you feel like you’re already done. Finishing strong helps you avoid the “last day injuries” problem that can happen when people start rushing.
Day 12 brings the flight from Lukla back to Kathmandu, described as about 35 minutes, then a drive to the hotel. The rest of the day is free, so you can do what you want, like gentle sightseeing or simply recovering in comfort.
The Value of What’s Included for $605 Per Person
At $605 per person, the big question is whether this is mostly logistics, or whether you’re paying for real support. Here, you get a lot more than a route plan.
Included items that genuinely reduce your stress:
- Domestic flights (Kathmandu to Lukla and back)
- Three meals a day during the trek
- Best available twin-sharing lodge rooms
- A Government Licensed, High-Altitude Trained guide
- Porter support at a porter for 1 for 2 trekkers
- Permits: Sagarmatha National Park entry and TIMS card fee
- Altitude safety tools in the form of a first aid kit and oximeter
- Useful gear like a trekking hat, duffel bag, and trekking pole
- Trek achievement certificate on completion
For most people, this inclusion list matters because it prevents the annoying “wait, I forgot that” purchases. It also reduces the risk of underprepared planning, which is the real enemy on high treks.
Group size is capped at 20 travelers, which often helps keep the experience from feeling like a slow moving crowd. You also get walkie-talkies for group trekkers, which is useful in a place where groups can spread out.
What’s not included, and you should plan for:
- Your personal travel insurance
- Snacks and drinks and other personal expenses
- Tipping and gratuities
- Personal trekking gear
If you already own poles and you pack well, you can save money on gear. If you don’t, the included trekking pole and duffel bag can be a nice early win.
What to Watch for: The Real Considerations That Affect Your Enjoyment
This trek is marketed for seniors and beginners, and that can be true for the right person. The itinerary does include rest and acclimatization days. But you still need to respect the demands described in the plan.
Three things that can make or break your comfort:
- Early starts for sunrise days, especially Kala Patthar
- Steep and rocky sections that are explicitly part of the route
- Altitude effects, which is why the schedule includes acclimatization and why you’ll have guide tools like an oximeter
The best way to enjoy this is to treat the schedule as the safety plan, not as a suggestion. Even if you feel fine on a rest day, stick with the plan. That helps you avoid rushing when it would be most tempting, near Gorakshep and base camp.
Who This Trek Suits Best
This itinerary fits people who want:
- The classic Everest Base Camp experience, including Kala Patthar sunrise
- A guided approach with a high-altitude trained leader
- A schedule with acclimatization that doesn’t rely on luck
It also suits hikers who like company and organization. With a maximum group size of 20 and shared coordination tools, it’s easier to focus on walking than on route logistics.
If you hate early wake-ups, you might still enjoy it, but your experience quality will depend on whether you’re okay with sunrise hikes being part of the deal.
Should You Book the Everest Base Camp Trek?
I’d book this if you want the essentials handled well: flights, permits, guides, meals, and pacing support, then the big viewpoints delivered as part of the schedule. The price feels reasonable because you’re not only paying for hiking time, you’re paying for logistics, safety gear like an oximeter, and guided acclimatization structure.
You might skip it if you are not comfortable with steep, rocky hiking or if you’re looking for a slower, less strenuous trek. This is high altitude trekking with real workdays. If you can commit to the plan and take acclimatization seriously, you’ll likely come away proud and energized.
FAQ
Where does the trek start?
The meeting point is Tribhuvan Airport in Kathmandu, Nepal.
How long is the Everest Base Camp trek?
The trek is 12 days (approx.).
What is the price per person?
The price is $605.00 per person.
What flights are included?
Domestic flights are included: Kathmandu to Lukla and back, plus the trek begins from Lukla.
Are meals included?
Yes. The tour includes three meals a day (breakfast, lunch, and dinner) during the trek.
Do you get a guide?
Yes. You get one highly experienced, Government Licensed, High-Altitude Trained guide.
Is a porter included?
Yes. A porter for 1 for 2 trekkers is included.
What permits and cards are covered?
The entry permit for Sagarmatha National Park and the TIMS card fee are included.
What trekking gear is provided?
You receive a trekking map, trekking hat, duffel bag, and trekking pole.
What is the cancellation policy?
Free cancellation is available. You can cancel up to 24 hours in advance for a full refund. If you cancel less than 24 hours before the experience starts, the amount paid is not refunded.
If you want, tell me your age range, hiking experience, and the month you plan to go. I can suggest a realistic packing and training game plan for the altitude days on this exact itinerary.
Latest Kathmandu write-ups
- Langtang Valley Trek★ 5.0 · 3 reviews
- Langtang Valley Trek from Kathmandu★ 5.0 · 3 reviews
- Khopra Danda Trek★ 5.0 · 3 reviews
- 5 night / 6 days Kathmandu Nagarkot Chitwan Pokhara tour★ 5.0 · 3 reviews
- Nepal Highlights Tour: 5 Nights 6 Days Kathmandu & Pokhara Tour★ 5.0 · 3 reviews
- Kathmandu Valley Private Day Tour★ 5.0 · 3 reviews
- Kathmandu Heritage Day Tour★ 5.0 · 3 reviews
- Conquer the Himalayas: The Ultimate 16-Day Annapurna Circuit Trek★ 3.5 · 3 reviews
Everest Base Camp Trek, compared.
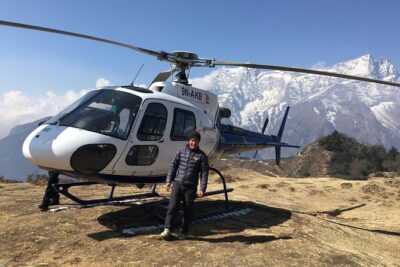
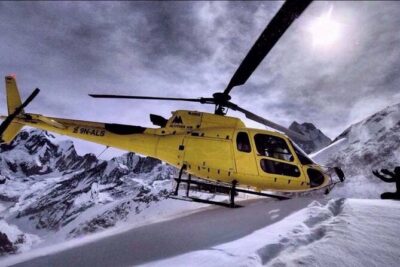
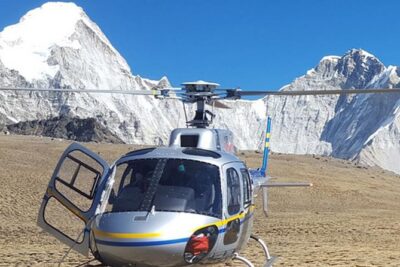
Everest Base Camp Helicopter Tour landing at Everest View Hotel
Read our review →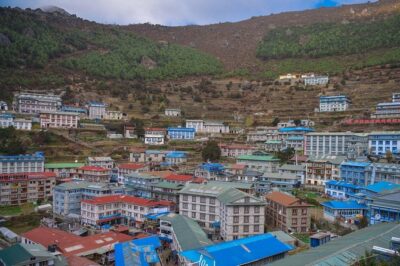
Everest Base Camp Helicopter Tour landing at Hotel Everest View
Read our review →
Browse the lists this tour appears in